No products in the cart.
Vinyl Fabric Tips
How To Repair Cracked Vinyl Fabric
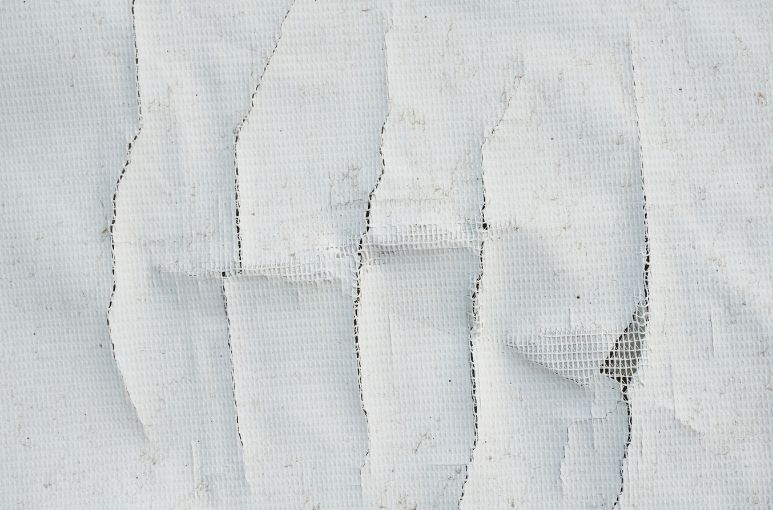
Many people like using vinyl fabric because it can brave the elements. Also, the fabric is incredibly durable, so it can withstand a little wear and tear. However, as strong as the material is, it’s still prone to cracking. Here are some tips on how to repair cracked vinyl fabric for people experiencing issues.
Beginning Steps
The first step in repairing cracked vinyl fabric is wetting a washcloth. The washcloth should be damp, but not soaking wet. It’s also vital to use warm water instead of cold. Individuals should then use the rag to dampen the cracked area until all of it is wet. Then, wait until the space is somewhat dry before continuing any further.
What’s Next?
After it has dried, grab sandpaper to wipe over the affected area. Then, scrub over the cracks with the sandpaper to smooth everything out. Once everything is even, people should use a vinyl crack repair kit to start applying the new material. Most manufacturers will give people a repair kit every time they buy new material. The kits have heavy-duty adhesive that allows people to complete the process themselves.
Next, place the material over the adhesive. It’s important to ensure that the new fabric is smooth and bump-free before everything is finalized. Individuals can use a flat-edged tool like a screwdriver to avoid any bumps. Surprisingly, the process doesn’t end there. Finally, people should use a hairdryer to further smooth out the material and make sure there are no cracks that’ll worsen over time.
This resourceful guide on how to repair cracked vinyl fabric will help anyone who is tired of things looking unfinished. Another bonus of taking on this DIY project is that it can give your items a refreshed look. All Vinyl Fabrics has plenty of marine grade vinyl with interesting designs and patterns. Not only will getting new materials erase any cracking, but reupholstered ships will look like they’ve traveled back in time if people do things correctly.

