Vinyl Fabric Tips
The Tools You’ll Need to Install Marine Vinyl Flooring on Your Boat
Nov
When your boat’s flooring is rotten, molded, or just outdated, it might be time to give it a new look. By installing marine vinyl flooring, you’ll resist damage and wear and tear better than any other fabric.
Made specifically for life on the water, this fabric goes the distance, but getting there is half the battle. If you install marine vinyl flooring yourself, you need a few tools and materials on deck.
Here’s what you need to get started on this DIY installation project.
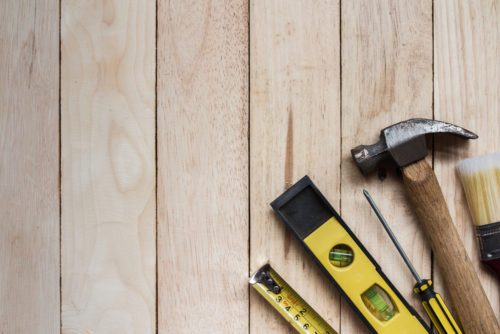
Measuring Tape
Before you purchase your fabric, you’ll need to know just how much to buy. Buying too little means you’ll be going back to the store, but buying too much means you’ve wasted money. Using a tape measure, gauge the area for which you’ll be installing the marine vinyl fabric.
Plywood
Once you’ve recorded your measurements, apply them and cut a piece of plywood accordingly. Use a marker to mark the dimensions on the plywood to indicate the lines for saw cuts.
Spackling Paste and Tool
Even the best laid vinyl flooring can go awry if your canvas isn’t in top shape. Prep the surface by filling any holes in the plywood on the deck of your boat. Once you’ve spackled holes, use sand paper to smooth it over, and dust off the sand with a broom for a completely clean surface.
Marine Vinyl Fabric
Fabric widths vary from 6 feet to 8.5 feet, giving you options based on your boat size. Simply roll the fabric over the plywood, and cut it so there are a few extra inches hanging off the bow and stern areas. To ensure perfect adhesion in the next step, lay the fabric flat for at least thirty minutes prior to glue exposure.
DeckRite Adhesive and Trowel
Using an 1/8” V-Notch trowel, spread the DeckRite adhesive across half of the plywood surface. When purchasing, note that 1 gallon of glue covers about 180 square feet, or a 22-foot deck.
Before adhering the fabric, wait for the glue to become tacky, or about 10-25 minutes depending on the environment. If you’re applying adhesive in a room that’s been 65 degrees Fahrenheit before, during, or 24 hours after installation, this tacky state will be difficult to achieve.
Manufacturer’s Cardboard Tube
Once your glue is set, use the cardboard tube that came with the fabric to roll half of your marine vinyl fabric onto the plywood. Then, use this tube to smooth out air bubbles and inconsistencies across the surface.
If you still have wrinkles in your fabric, kneel in the center of the deck and use a plastic cutting board to push bubbles to the edges. Once that half of the deck is wrinkle-free, repeat the steps with spreading adhesive and rolling out the fabric.
Razor Blade Knife
Because you’ll have excess fabric hanging over the edges, a razor blade is the perfect tool for a smooth edge. If you see adhesive dripping down the sides, use an adhesive cleaner to scrub it off.
Staple Gun and Staples
You don’t want your hard work to go to waste with a peeling floor. Although the adhesive is heavy duty, secure your flooring from bow to stern using a staple gun and stainless steel staples around the edges.
When you’re ready to begin your marine vinyl flooring project, you’ll need high quality fabric that will last you for years out on the water. All Vinyl Fabrics has you covered. We provide everyday discounted pricing with fast and convenient service. Contact us or call us at 877-618-4695 to speak with a specialist who can help you with your specific project.