General
The Importance of Proper Caulking
Jul
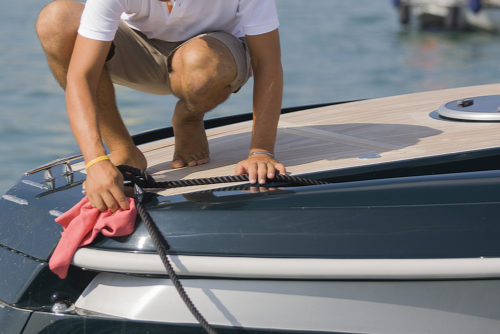
A lot of work goes into maintaining your boat, like cleaning your deck or marine vinyl fabric. One critical step, though, is caulking to keep your boat safe and beautiful. Whether you’re mounting an antenna or sealing a fastener, it’s common to grab caulk hastily off the shelf and begin using it for any project at hand. There are some key decisions that need to be made prior to properly caulking your boat, and failing to do so leads to costly repairs and less time on the water. Before causing damage, here are the ins and outs of how to properly apply caulk to your boat.
Choosing Your Caulk
The first step in caulking your boat is choosing the right product. There are three prominent types of caulk in the market, and each has pros and cons for different projects. Polyurethane is standard in the marine community because it’s very versatile and readily available at most hardware stores. However, one of the drawbacks is that it dries hard, causing problems when you’re caulking anything not permanent or semi-permanent.
On the other hand, polysulfide is much more malleable once it dries. It’s great for hardware that requires flexibility and items on your boat that aren’t permanent. In addition, polysulfide caulk is the most chemically and UV resistant of any of the caulks.
Finally, silicone caulk has a poor reputation since it rejects paint, leading to the unsightly “fisheye” bubbles in coatings. Due to this issue, avoid using silicon caulk unless you’re using it on sensitive plastics or repairs on parts beneath the water. Choosing the right type is key to a successful caulk job.
The Proof is in the Cleaning
Once you’ve chosen your caulk and are ready to apply, start by cleaning the surface you’re caulking. Contamination is the biggest risk of compromising the seal once applied. Both oil and wax prevent the necessary bond between surfaces to be caulked. Removing these agents through cleaning will ensure an uncompromised bond.
When caulking, you will mostly be working with metal hardware or the wax molding of the boat. Luckily, the cleaning process for both types of surfaces is relatively simple. For either surface, take a clean rag and soak it in mineral spirits, then wipe down the area to be caulked. You will notice the rag turning black during this process. The discoloration is the contaminants being removed. Continue until your rag is no longer turning black, and then you’re ready for caulk application.
It’s Time to Torque
Now that the surface is clean, you can safely apply the caulk. After application, it is important that you tighten the hardware you’re sealing by torqueing it tightly. Many boaters suggest only partial torqueing, but it is important to tightly set the hardware into the caulk. If not tightened, you run the risk of the hardware shifting and cracking your seal. Once the seal is cracked, you’re back off the water, making more repairs.
Follow these important steps of selection, cleaning, and application to give you peace of mind about your seals. Continuous maintenance is key for keeping your boat look brand new, and All Vinyl Fabrics supports your marine vinyl fabric needs. Contact us today or call us at 877-618-4695, and we’ll help you keep your boat in top shape.